

I received an order (from my mother) to bake a cake for 100 people last week, and so I spent all week thinking up ways to make a cake that big… Big rectangular cake? Separate cakes? Cupcakes? And since I definitely did NOT want to go with cupcakes (it’s so done, ya know?) I thought… why not take this opportunity to try making my first ever stacked cake?
Yes, ambitious, considering I had just three days to do it. I usually don’t take such late orders, but since it was for my mother and she was buying everything anyway, I thought I’d give it a shot.
I read every bit of advice I could find on the net, though I admit to not conducting thorough research on the subject. Click on those links for some great cake-making tips though, especially the smitten kitchen link, wowza, is she amazing or is she amazing?
It was actually a lot easier than I anticipated, though I kinda underestimated the height of my cake layers and baked too many. I thought I would need three layers per cake (which would mean a total of nine layers), but when all was said and done… I just needed the basic two. So I had three extra left over in the freezer (show you what I did to them later).
I tried a new recipe for this cake, which is silly. You would have thought I’d learned my lesson not to make new recipes for last minute orders by now, but of course not! I don’t have the ability to retain knowledge. It was relatively simple, and turned out quite well! Though not as chocolatey as I had hoped.
Chocolate cake recipe
makes 2 8-inch round pan cakes, or 3 6-inch round pan cakes
- 150g self-raising flour
- 3 tbsp 70% cocoa powder
- 175g unsalted butter, completely softened
- 175g caster sugar
- 1 tsp baking powder
- 3 eggs
- 1/4 cup buttermilk
- Preheat the oven to 180C, grease and flour your pans (I used 2 8-inch round pans, and 3 6-inch round pans)
- Combine all the cake ingredients in a large bowl and beat with your electric mixer on medium speed until all ingredients are fully incorporated
- Pour into the prepared pans and bake for 25 minutes, or until a skewer inserted through the middle comes out clean, allow the cake to cool in the pan for 5 minutes before carefully removing onto a cooling rack where it will cool completely
I baked four batches of this recipe for the cake (though in hindsight, I only needed three), then wrapped them in cling wrap and popped them in the freezer for around two hours while I went out for dinner. When you remove cake from the freezer, you may want to re-moisten the layers with some sugar syrup… or I prefer to use 3 parts hot water, 1 part vanilla essence, and brush it over the layers.
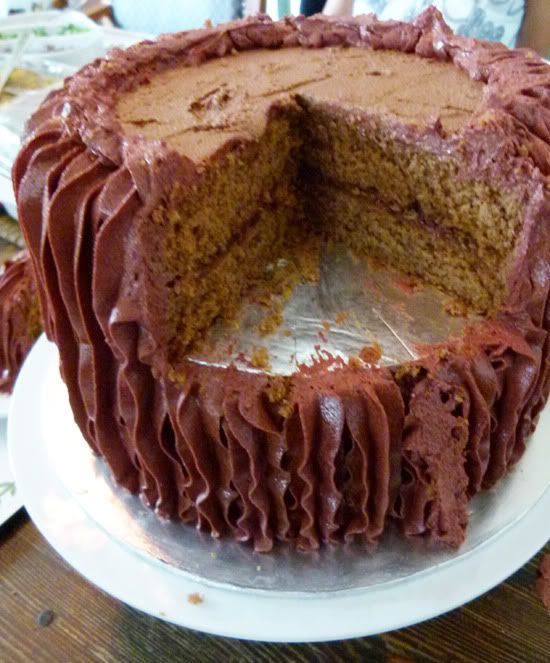
For the filling, I had gotten quite lazy and used raspberry and strawberry preserve (raspberry for the top and bottom layers). The cakes were then covered with the following chocolate buttercream.

Chocolate Buttercream recipe
- 1/2 cup vegetable shortening
- 1/2 cup butter, softened
- 3/4 cup cocoa powder
- 1 tsp vanilla essence
- 3 cups sifted confectioners sugar
- 3-4 tbsp milk
- Cream the shortening and butter until light and fluffy
- Add cocoa powder and vanilla and whisk into the butter and fully incorporated
- Add sugar, 1/2 cup at a time, beating well after each addition
- Slowly add milk whenever the mixture gets too clumpy
- Add colouring as you wish (I went with 2 tsp of red colouring to give it that shade), and if keeping in the fridge, be sure to allow the buttercream to thaw slightly then re-whip before spreading

